
Everyone who uses Google runs into search advertising every single day. People type in all kinds of queries the moment they need something: food, clothing, a doctor, a vacation, a way to make extra money, somewhere to invest. Google answers with organic results and ads labeled “Ad”.
How Google Search Ads Work
Google acts as a matchmaker between advertiser and customer:
- The customer wants to buy a product or get a service.
- Google shows them an ad from advertisers offering exactly that.
Advertisers build these ads inside the Google Ads account. Every ad is tied to a keyword, the search term that should trigger it. That link between keyword and ad is what makes search advertising so useful, and it’s where its advantages come from:
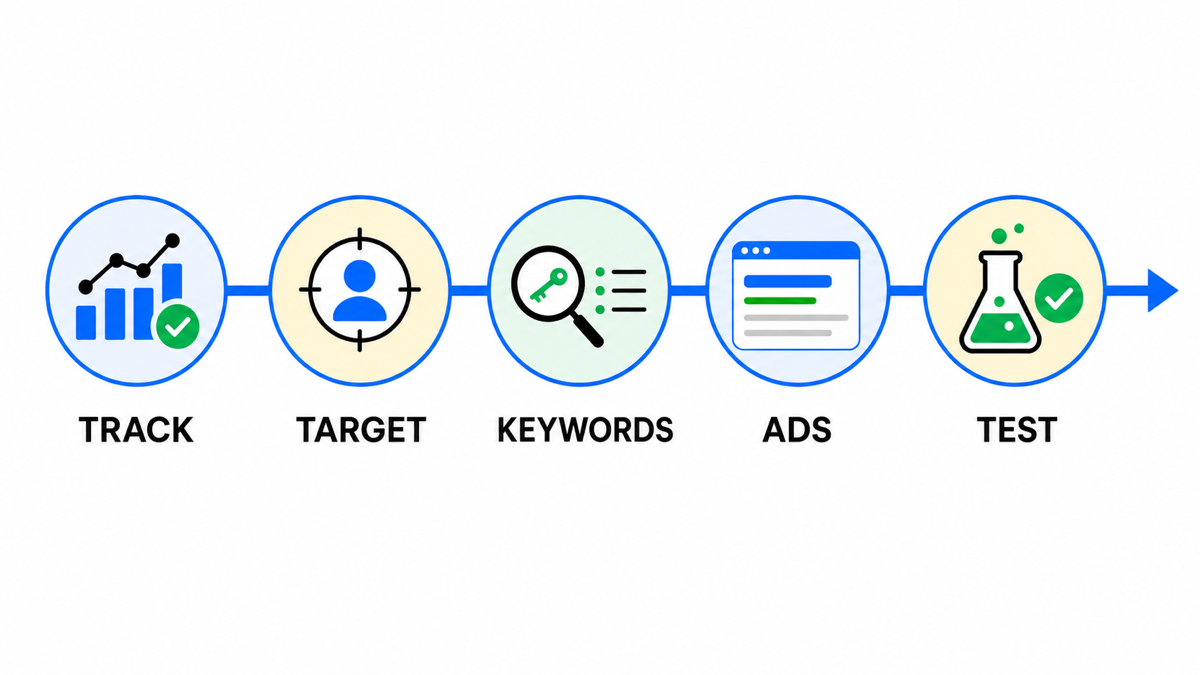
- People see your ad exactly when they need your product. Google matches the ad to the query in real time. Compare that to a billboard, which can’t show up on demand the moment someone needs you. It just sits there next to a dozen other billboards, adding to the noise instead of solving anything right now.
- You don’t need to convince or seduce anyone. The person already wants what you’re selling. Your only job is to harvest ripe fruit, not grow the tree.
Search advertising is pay-per-click, you’re charged every time someone clicks your ad. That click lands the person on your site, where they can place an order. The better your ad quality and campaign setup, the cheaper each of those clicks gets.
What Do Google Search Ads Look Like?
As you can see, search ads let you target the exact query someone typed into Google. Advertisers simply plug the keyword they want to trigger the ad into the campaign settings.
How I Keep One Promise Per Search
I treat the chain from query to landing page as one single promise to the user. If someone is searching for a specific solution, I echo that same meaning in the ad and then deliver on it on the landing page, without switching topics after the click. When one ad group can’t honestly be summed up in a single message, I split the intents apart instead of papering over the vagueness with a more aggressive bid.
Google’s own guidance backs this up: check your ad relevance and landing page experience.
Google marks every ad with a bold “Ad” label. Before building your own search campaign, it pays to research the queries you expect to bring in customers. It’s also worth studying your competitors, both their ads and their landing pages.
What a Search Ad Is Made Of
Let’s break down the pieces you actually get to build.
Core parts of the ad:
- Headline: “Laptops at Best Buy – Order Today, Pick Up Tomorrow.” Headlines are almost always 2, occasionally 3, parts. Each part is separated by a hyphen “-“. You can set many different headlines and control the order they rotate in.
- Description: “Huge range of home gadgets: find your brand, model, size, and color.” Descriptions can also run in 2 parts, and like headlines, you can set up to 4 of them and control their position.
- Responsive assembly: Google Search ads pick the best headlines and descriptions out of whatever you feed it. Google’s AI tests different combinations, finds the strongest performer, and leans into it.
- Landing page link: the ad has to send visitors to a specific page on your site where they can buy, book, or submit a request. That link is a required part of the ad, and it lives in the headline’s final URL.
Extra parts of the ad:
- Assets (formerly called extensions): optional additions to the core ad. They come in several types.
- Sitelinks: “Up to 40% Off · All Best Buy Deals · Deal of the Day · Store Hours · Top Rated.” These link to other pages, or other sections of your main landing page.
- Location: “Chicago · 4 locations nearby.” A clickable link that opens directions in Google Maps.
- Other assets: Images, Logo, Callouts, Structured snippets, Phone numbers, Price, App, Promotion. All of these make your ad bigger and more visible, which in turn lifts your CTR (click-through rate: the percentage of impressions that turn into clicks).
Quick-Start Algorithm for Google Search Ads
If you’re selling physical products:
- Build an online store, or a single-page site if the product fits that format. Say your niche is “kids’ toys.”
- Set up a separate search campaign for each product category. Categories like: educational toys, building blocks, remote-control cars.
- Inside each campaign, build ad groups. Example: a campaign for “educational toys” with subgroups “educational toys for infants,” “educational toys for preschoolers,” “educational toys for early-elementary kids.” Each subgroup gets its own ad group.
- Every group should carry keywords for one subsection of your category, plus one ad. Pick keywords that match how people search for that subsection. Example: “educational toys for kids under 3” for the “toys for infants” group. That group’s single ad should match those keywords.
- You can also build separate groups for individual products, not just categories, if people search for them by name on Google. Shopping ads are another option for advertising individual products.
If you’re selling services, the algorithm is basically the same:
- Build a services site with a dedicated page for every service you want to advertise.
- Set up a separate search campaign per service, though in some cases one campaign can cover several services.
- Build ad groups per service, whether split across campaigns or inside one.
- Write ads and pick keywords that match how your potential clients search for that service.
- Search ads are a natural fit for service sites, and they pull in relevant traffic.
Pros and Cons of Google Search Advertising
Pros of search advertising:
- Search ads reach someone at the exact moment they’re actively looking for a product or service, or hunting for a solution to a problem.
- Deep controls for tracking and analyzing performance, so you can keep optimizing.
- Google holds more user data than almost anyone, plus AI that helps you find and reach the right people.
- Control over traffic volume, fast results, and the ability to forecast and model your numbers.
Cons of search advertising:
- It’s paid (you pay for every click on your ad).
- Google is optimizing for its own revenue, often at the expense of your goals and results.
- Setup can be genuinely hard for a beginner.
- Google’s automation doesn’t always work well.
- The interface keeps changing, so guides go stale fast and it gets confusing.
How to Set Up Google Search Ads: The Full Walkthrough
First, decide whether you actually need search ads. If you’re selling something people are already typing into Google, the answer is yes, you should be running Google Search ads.
Let’s set them up, and I’ll flag along the way where Google tries to squeeze more spend out of you.
- If you don’t have an account yet, head to ads.google.com and sign up. You’ll need your basic details and to pick the currency you want to be billed in.
- Confirm you’re working in “Expert Mode,” not “Smart Mode.” Never build a real campaign in Smart Mode, that’s the same as volunteering to burn your own budget. There’s a button at the bottom of the screen, “Switch to Expert Mode.”
The quick-launch method below gets a search campaign live fast, without a long research phase, keyword deep-dive, or audience segmentation up front. Follow it and you’ll have a running campaign and your first results almost immediately.
Creating the Search Campaign
- Click “New Campaign” (the big blue button) and choose “Create a campaign without a goal’s guidance.” Any other goal option narrows what you can do later once you get into the pro-level settings.
- Campaign type: “Search.”
- If you already have conversion goals set up on the account, they’ll apply to every campaign by default.
- If different actions on your site carry very different value, set up separate search campaigns for each. Example: on one page someone books a free workshop, on another they buy a paid course. Those conversions aren’t worth the same. In that case, keep one goal per campaign and delete the rest, then build a second campaign for the other goal.
- If every goal is roughly equal in value (a call, a form fill, a signup) and they all funnel toward the same sales call, keep all of them inside one campaign.
- Skip the “What results do you want to get from this campaign?” step entirely, don’t check any boxes.
- Name the campaign. Only you will see this name. Pick a naming system that makes sense to you: by product, by country, by language, whatever keeps you organized.
Click the blue “Continue” button to move on.
Setting Your Bids
Your bid in Google Search is what you’re willing to pay per click on your ad. Don’t start big. Every new campaign carries a real risk of losing money at first, even for people who’ve been doing this for years, let alone beginners.
- Choose “Manual CPC” bidding. If that option isn’t available right away, skip this step for now and click the blue “Next” button, it opens up once the campaign exists.
- Set a hard cap on your maximum cost-per-click. Ad priority isn’t mostly about your bid, it’s about ad quality. Google’s logic: people click more, take more actions on your site, and stick with Google Ads longer because they’re happy with the results. So improving quality can cut your cost-per-click dramatically, 10x or more in a lot of cases.
- Set your starting bid at the minimum, around 10 cents. Google will tell you if that’s too low, and you can raise it from there.
My e-book “19 Google Ads Secrets”: how to get the most out of Google Ads without draining your budget, drawn from real campaigns and tests.
See the book →Campaign Settings
This section has several sub-parts. Let’s go through each one.
Under “Networks,” make sure to uncheck both “Search Network partners” and “Display Network.” That protects you from burning your budget on impressions across random partner sites with zero benefit to your business. This matters most for the Display Network, the Search Network partner box you can sometimes leave checked.
Location
You can choose:
- All countries.
- A single country.
- A custom location. This lets you get as specific as a state, city, or neighborhood.
Click “Advanced search” to target multiple locations at once, or set a specific address with a radius around it.
A few things worth knowing about location targeting for search campaigns:
- If your search campaign covers a whole country, it’s worth also adding your biggest cities individually.
- Cost-per-click in a major hub like New York City looks nothing like the national average. The bigger the city, the pricier the click. Adding cities separately lets you adjust bids: push them up for the expensive metro, leave them flat or lower everywhere else. Set one flat bid for the whole country and you’ll either underbid in the big city or overpay everywhere else.
- The closer someone is to where you actually deliver the service, the more it’s worth raising your bid, people nearby convert at a higher rate. This applies mostly to local businesses.
Hit “Save” after adding each city.
- Sometimes it’s worth targeting specific neighborhoods or districts within a city.
- You can exclude certain areas if they fall outside where you actually operate, say a zone you don’t deliver to.
- Location options: here you can set the targeting rule:
- “Presence or interest”: this also catches people who aren’t physically in your target area by IP but are showing interest in what you sell, like someone on a VPN. Search ads show to this group by default. Leave it there.
- “Presence only.”
Languages
For bilingual or multilingual markets, target at least two languages, and it’s often worth adding a third if you can serve those customers. In the US, plenty of businesses run two versions of the same search campaign: one in English, one in Spanish, each with ad copy actually written in that language, not just translated targeting.
Even in an English-first market, plenty of people search in a second language regardless of what their browser or phone is set to. Assuming your customer’s search language matches their device’s system language is one of the easier ways to leave money on the table.
Audience Segments
I’d recommend adding your existing audience segments in “Observation” mode. Observation mode won’t shrink your campaign’s reach the way “Targeting” mode does, but it still lets you adjust bids per segment.
To do that, go to the “Overview” section, choose “How they’ve interacted with your business,” and check the audience you want:
- Visitors to your website.
- People who’ve converted or completed signup.
You can also add “similar segments.”
If you haven’t built any segments yet, go to the “Search” tab and click the blue “+ New segment” button. From there you can choose:
- “Customer list.”
- “Segment based on your lead form.”
Turn off broad-match keywords.
Additional Settings
A few more options live under Additional Settings:
- Ad rotation, leave this alone. By default it’s set to optimize, showing your best-performing ads more often.
- Ad scheduling matters for businesses where the service gets ordered and delivered right away, think rideshare, food delivery. For those, limit your ad hours to your actual operating hours. If a client can reach you hours later or after the weekend, this setting doesn’t do much for you.
- Campaign start and end dates. Pick a start date. Skip the end date, you’ll set that whenever you decide to pause the campaign.
- Campaign URL options, leave blank.
- Brand restrictions, not needed.
Click “Next” to move on.
Keywords and Ads
Here you build your first ad group. Name it the same thing as the product you’re advertising.
Different ad groups exist so each one can run its own set of keywords. Start with whatever product you expect to be most profitable. The default bid Google suggests will depend on your industry.
Keywords
If you drop your site’s URL or product name into the keyword field, the system will auto-generate keywords for you. Do it by hand instead.
To pick your own keywords:
- Put yourself in the shoes of someone searching for what you’re offering.
- Think through which phrases actually capture what you sell.
- Work out which words signal someone’s ready to buy versus just curious.
- Use the Keyword Planner to help you find more.
A few rules for writing good keywords:
- Never bid on a single word that can mean more than one thing. Say you run an HVAC repair business and bid on just “AC.” You’ll pull in searches for the AC/DC concert tour and every other unrelated meaning of that abbreviation, instead of homeowners with a broken air conditioner.
- Even when a word can’t really mean anything else, like “pizza,” most people typing it aren’t ready to buy. They want a recipe, a dough tutorial, whatever. Don’t bid on the bare word “pizza.” Bid on “order pizza,” “pizza delivery,” “buy pizza online.”
- If “tire shop” as a keyword is already tied to the right neighborhood, you may not need to narrow it further. But a keyword like “laptop” on its own will waste your budget no matter how much you spend, because it pulls in “laptop games,” “laptop parts,” and everything else that isn’t a purchase. Narrow it: “buy laptop.”
- Put your keyword in quotation marks. That locks it into phrase match. Without quotes, you get broad match, and broad match always favors Google, it shows your ad to a wider audience than the people who’d actually convert. Skip the quotes and you’ll burn through budget faster without realizing why.
- You don’t need many keywords, 1 to 5 well-chosen ones per group beats a long messy list.
- Don’t duplicate the same intent at different specificity, like “buy laptop” and “buy laptop Chicago,” unless you actually plan to set different bids for the broad version versus the geo-specific one.
Writing the Ad
Setting up your actual ad looks like this:
- The page on your site the click should land on.
- Display path, your main keyword usually does this job.
- Headline: steal ideas from competitors by Googling your own keywords and seeing what shows up. Write 5 to 15 of them.
- Descriptions, up to 4: short, concrete, focused on your actual advantages and what makes you different.
Important:
- Your headlines and descriptions need to actually contain the keywords you picked for that ad group.
- Skip generic superlatives like “best” or “top quality.” Concrete specifics land harder: your actual advantages, what sets you apart from competitors, proof of experience, how many clients you’ve served.
- Your business name and logo.
- Fill out every asset Google offers you:
- callouts (short, punchy facts about your business);
- promotions;
- product or service prices;
- phone number;
- structured snippets;
- lead-gen forms;
- images;
- sitelinks.
- Check how the finished ad will actually look, the preview is on the right, with desktop and mobile versions. If it looks right, click “Done,” then “Next.”
Budget
Take Google’s recommended amount or set your own. In practice, even a modest budget can bring in a steady stream of leads and a reliable flow of orders.
Once you’ve reviewed the whole campaign, click “Publish.”
How to Quickly Build Out a Full Campaign Structure
Your new campaign shows up in the “Enabled” section on the lower left, along with which product it’s running.
If you’re advertising more than one product, each one needs its own campaign:
- Click into the campaign, go to “Ad Groups,” and check the box on the group you already built. Click “Edit,” “Copy,” “Edit,” “Paste.” In the new copy, change:
- the name;
- the keywords;
- the ad.
That’s the fast way to spin up a lot of ad groups inside one campaign.
- You can copy an entire campaign the same way. Same steps, just done at the campaign level instead of the ad-group level. Then, in the new campaign’s settings, change:
- the language or country;
- the ad copy, rewritten in that language;
- keywords can be set in two languages if needed.
How to Check That Your Search Campaign Is Live and Running
In your Google Ads account, a green circular marker should sit next to your campaign and ad group names, and your ad group, ads, and keywords should all show “Eligible” status. Once that’s true, fund the campaign and impressions should start within roughly 2 to 12 hours.
How to Check Your Own Ads Safely
One important warning: don’t just Google your own keyword to check. That actively hurts your own campaign:
- If Google shows your ad and you click it, you just spent your own money for nothing.
- If you see your ad and don’t click it, your click-through rate drops, and Google reads that as a sign your ad is low quality.
The correct way to check:
- “Tools and Settings.”
- “Ad Preview and Diagnosis.”
- Type in the search query you want to test.
- The “Preview” tab shows exactly how your ad looks across devices in Google’s results.
What you’ll see:
- “Ad is showing,” marked in green.
- “Ad is not showing,” marked in red.
You can check the reason under the “Results” tab. If it says:
- “Shown occasionally,” that usually means your budget or bid is too tight. Your ad isn’t showing every time it could.
- “Unknown, not shown,” in these cases, check whether your campaign’s impressions column shows any activity. If it does, don’t worry about it.
You can check whether and how your ads show across different cities, devices, countries, and languages.
Takeaways on Google Search Advertising
Search advertising is one of the most effective ways to sell a product or a service. Once you know the shortcuts to a fast, solid setup, you can start bringing potential customers to your site today. From there, you keep improving: raise the budget, adjust bids, refine the ad copy. Each of those moves the same two levers, better performance and lower cost per result.